
DIY: Make Your Own Personalised Dummy Clip
The dummy clip is an essential accessory for parents of babies, keeping your baby's dummy clean and within easy reach. So why not add a personal touch by making your own personalised dummy clip? In this article, we'll guide you step by step through creating a unique dummy clip for your baby. From choosing the materials to personalising it, discover how to make this fun and practical DIY project.

Materials you'll need:
- Cord or ribbon: choose a sturdy cord or ribbon, around 25 to 30 centimetres long. You can pick colours or patterns that match your baby's style.
- Beads: look for wooden, silicone or BPA-free plastic beads in various shapes and colours. Make sure they have holes wide enough to thread the cord through.
- Fastening clip: you'll need a secure fastening clip to attach the dummy clip to your baby's clothing. Look for one with a sturdy clasp.
- Jump rings: jump rings let you attach the beads and the clip to the cord. Make sure they're strong enough to withstand daily use.
- Jewellery pliers: jewellery pliers are handy for opening and closing the jump rings safely.
- Masking tape: this can be useful for holding the beads in place while you thread them onto the cord.
Steps to make a personalised dummy clip:
Step 1: Preparation
Start by making sure all the materials are clean and safe for your baby. Wash the beads and cord in warm, soapy water and rinse them thoroughly. Dry them well before you begin.
Step 2: Planning the design
Before you start assembling your dummy clip, plan the design you'd like to create. Think about the colours, patterns and how you'll arrange the beads. You could choose a colour scheme that matches your baby's favourite outfit, or add letter beads to spell out your baby's name.
Step 3: Threading the beads
Thread the beads onto the cord in the order you've chosen. You can use a piece of masking tape to hold the beads in place while you thread them. Be sure to leave enough space at one end of the cord to attach the fastening clip.
Step 4: Attaching the clip
Thread the end of the cord through the fastening clip, then thread the cord through the jump ring. Use the jewellery pliers to close the jump ring securely.
Step 5: Finishing the dummy clip
To finish the dummy clip, attach the free end of the cord to the jump ring at the other end of the fastening clip. Make sure everything is firmly secured.
Step 6: Safety check
Before giving the dummy clip to your baby, make sure it's secure by pulling firmly on the cord and checking that all the connections are in place. Also make sure the dummy clip is the right length to avoid any risk of choking.
Personalisation tips:
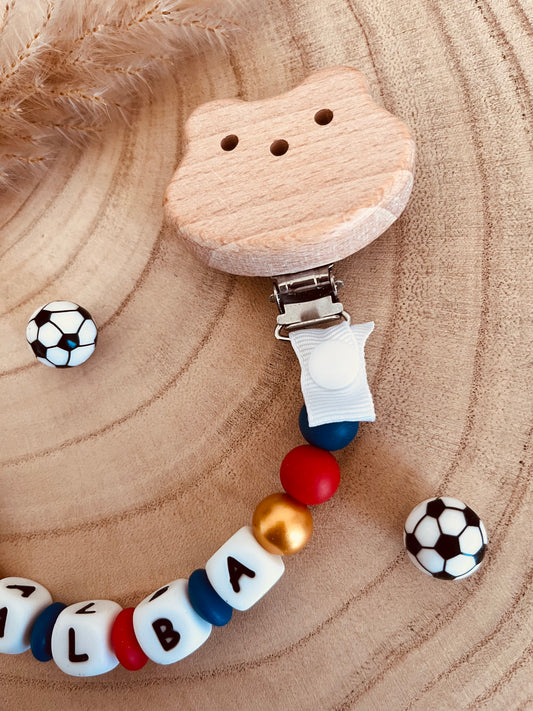
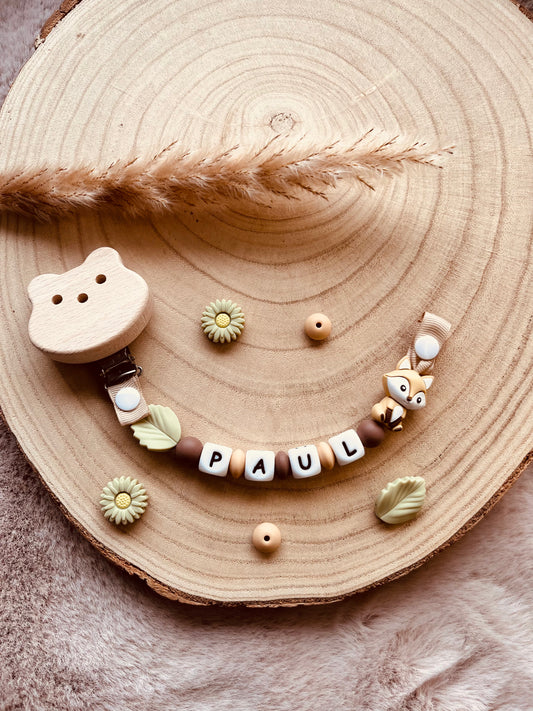
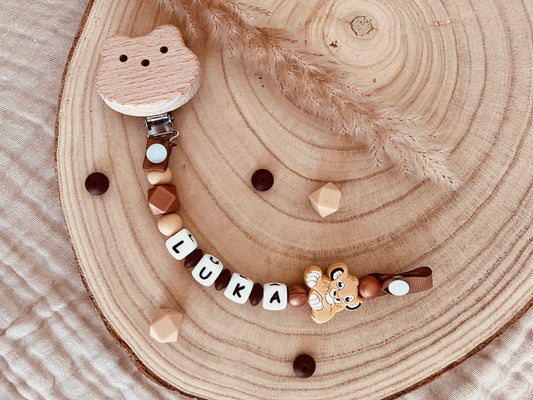
- Use letter beads to spell out your baby's name for a named dummy clip or a special message.
- Add beads shaped like animals, hearts or stars for a playful look, or a character like Stitch for a Stitch dummy clip.
- Vary the textures by using wooden and silicone beads.
- Match the colours of the dummy clip to your baby's clothes.
- Experiment with different colour and bead combinations to create unique designs.
Making your own personalised dummy clip is a fun, rewarding DIY project that lets you create a practical and beautiful accessory for your baby. By using quality materials, planning your design carefully and making sure everything is securely fastened, you can create a one-of-a-kind dummy clip that not only keeps your baby's dummy close to hand but also adds a personal touch to their look. With a little creativity and attention to detail, you can give your baby a personalised accessory they'll treasure. So go on, give this DIY project a try and create a special dummy clip for your little one.
Ready to take the plunge? Discover our personalised dummy clips with baby's name — carefully made, EN 12586 standard, shipped within 48 h.
Fancy making your own dummy clips and accessories? Discover all our wholesale silicone beads at Babanono.